


All you need to make this is 1/2 yd of fabric and 2 buttons (or snaps if your little sweetie won't sit still while you do two buttons). Lightweight fabrics work well for this top. This green one is just a cute cotton print. The other two I made are seersucker and a lightweight denim.
Using the pattern pieces (link below), cut out one front piece (on the fold) and two back pieces (make sure you flip the pattern over for one so you have a right and a left side. (NOTE: if you don't want the back to be so open, make the back pieces a little wider) Also, cut a strip of fabric 1" by about 44". My fabric ended up being only about 42" after it shrunk a little in the wash.
Pattern Pieces PDF
(After printing the 4 pages, line up the two for the front piece and the two for the back pieces and tape together. Don't overlap the sheets of paper, just butt them up next to eachother.)

Once you have all your pieces together, start by serging the top edge and diagonal arm holes of the front piece. (I will be serging all my hems, but if you don't have a serger, you can iron under 1/8", zig zag the edge, or leave raw.)

Fold over and iron the diagonal sides just over 1/4" to create a hem. Sew in place using 1/4" seam allowance.

Fold over and iron the top edge just over 1/2" to create an open-ended casing for the neck strap. Sew in place with 1/2" seam allowance.

Serge the top and outside (shorter) edges of each back piece. Fold over and iron the top edge down 1-1/2" to create a large hem on each back piece.


Sew the large hem in place by sewing one line close to the edge of the hem, and onother 1/4" down from the top. Hopefully the picture helps more than my explanation.

Fold over and iron the outside edge (shorter side that you just serged) of each back piece 1/4" and sew to create a hem.

With right sides together, pin the back pieces onto the front piece.
NOTE: slide the back pieces up slightly so they line up with the diagonal part of the top 1/4" in from the side (see pic below). That way when you sew it together with 1/4" seam allowance, they will match up correctly.

Sew down the side with 1/4" seam allowance, starting at the top to match up the corner where the front and back match up. (see pic below)

Do this for both sides. Then finish off your edges (serge, zig zag, or leave raw) and iron them out. At this point you can sew that seam down by pressing it toward the back and topstitching like the picture below, or you can just leave it as is.

Serge the entire bottom (or iron under 1/8") from edge to edge.

When it's open, your top should look like this now.

Fold that bottom edge under 1/2" and iron. Sew the bottom hem with 1/4" seam allowance, then sew another line 1/8" above that for a double line look. You could also use a double needle if you like, but I don't have one, so I just do it this way.
Mark the spots for your buttons and button holes. With the shirt open, laying on your table and the right side of the fabric facing you, the buttons will be on your left, and the holes will be on your right.

 |
| <----buttons button holes----> |
Grab the long strip of fabric you cut. To make the strap, fold the edges of the whole strip lengthwise toward the middle, ironing as you go.
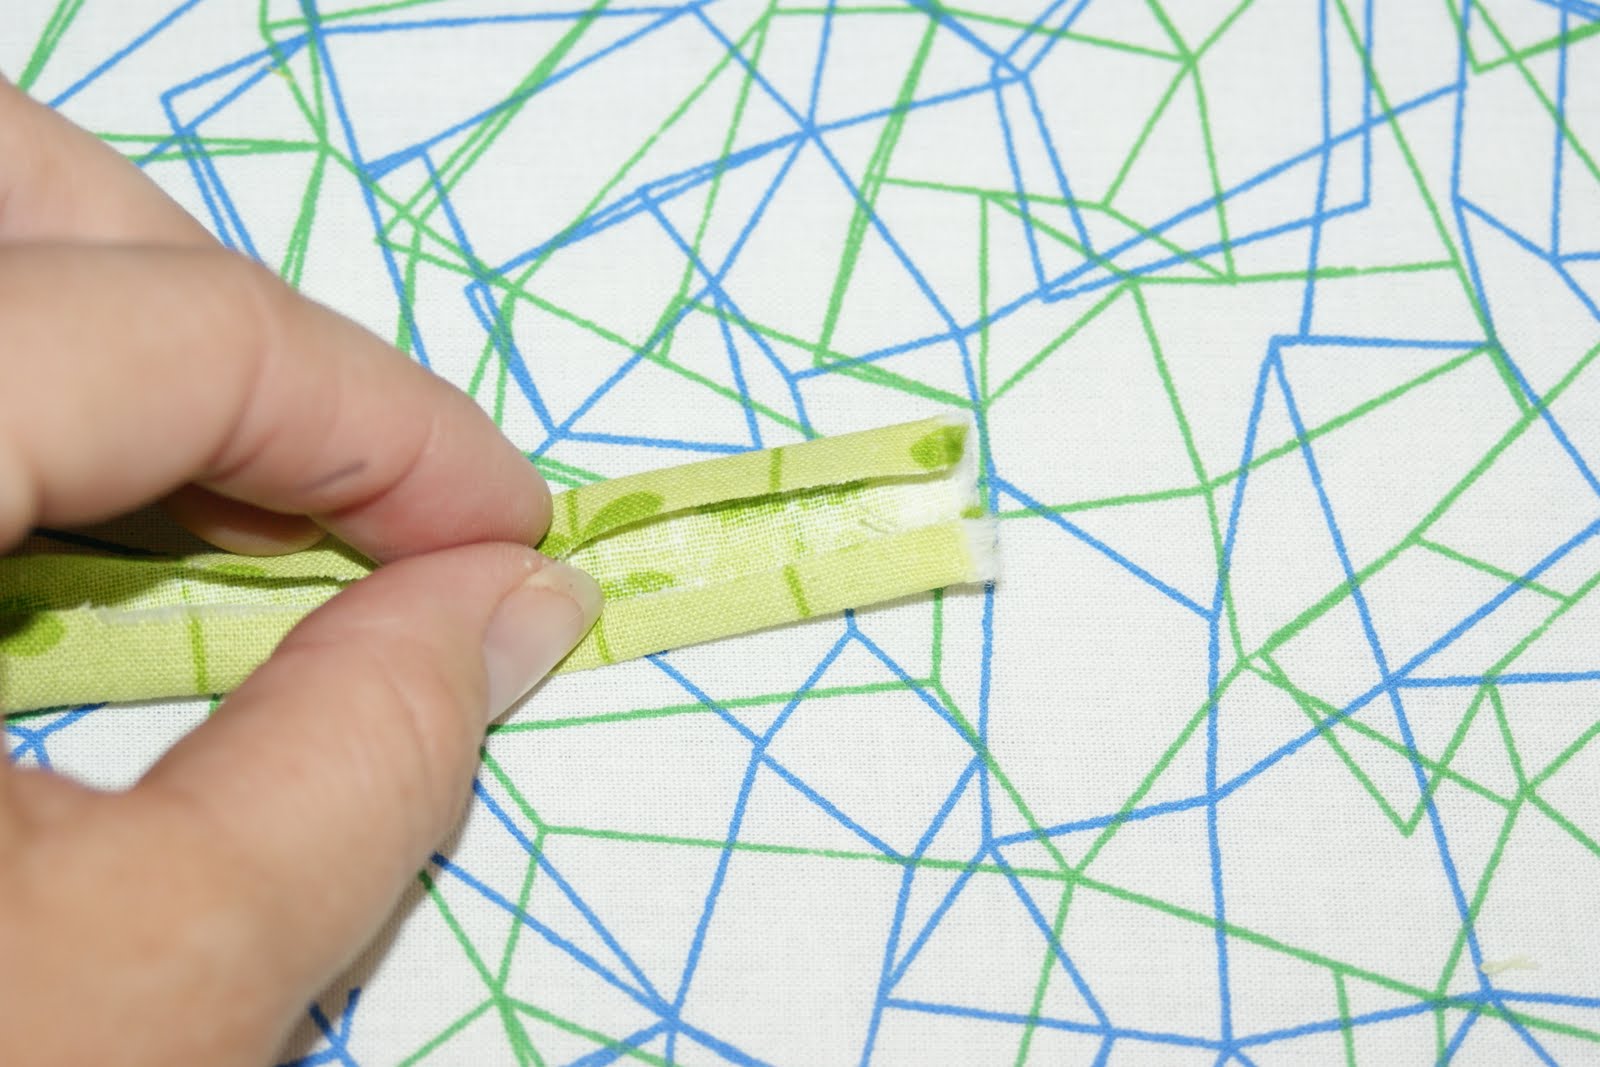
Then, take it and iron the whole thing in half with those edges you just ironed under facing eachother.

Topstitch the open edge closed all the way down. You can also topstitch the other side if you want them to match.

Attach a safety pin to one edge of your strap, and feed it through the opening you created at the top of the front piece.

You are done!!!


Scrunch up the fabric around the strap, stick it on your cutie pie, and let her run!

(or just watch the other kids run while she snuggles with her lammy)

Super cute, Lauren! You are so creative!!
ReplyDelete